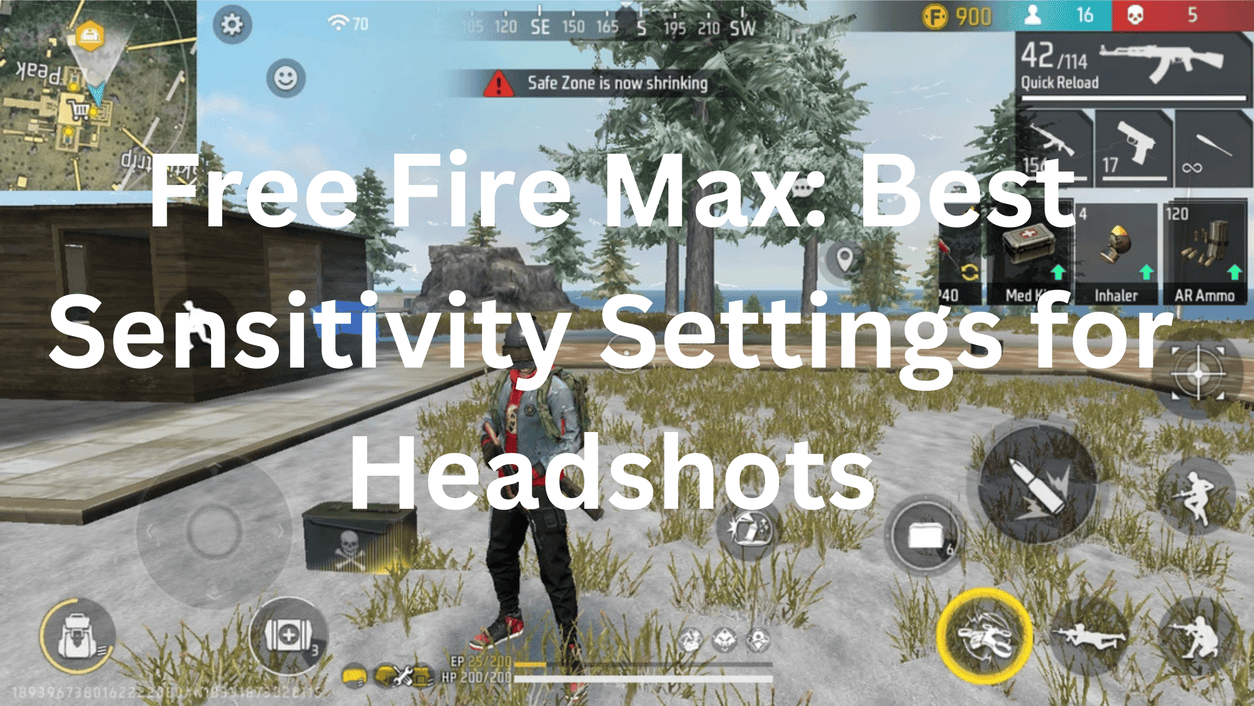
Headshots in Free Fire Max aren’t just about reflexes. Sensitivity settings play a critical role in how quickly and accurately your crosshair aligns with an enemy’s head and using the right Free Fire Max sensitivity for headshots has become essential to dominate the lobby in 2026.
The wrong sensitivity makes good aim feel broken. The right one makes average aim feel lethal. Here’s the complete guide.
Why Sensitivity Settings Matter So Much
Free Fire Max rewards drag headshots above everything else and dragging requires your crosshair to move upward quickly and precisely in one smooth motion. Higher sensitivity allows the crosshair to move upward more quickly during a drag shot, making it easier to convert body shots into headshots.
The problem most players have is copying pro settings blindly. Just because someone else’s settings work for them does not mean they will work for you. FF sensitivity depends heavily on your device and how you play. Aggressive players usually prefer slightly higher sensitivity for faster movement, while long-range players may choose lower settings for better control.
The Sensitivity Settings Menu: Where to Find It
Open Garena Free Fire Max, tap the gear icon in the top right corner, then select the Sensitivity tab. It is always best to change these numbers in the lobby so you can test them immediately in the training area.
You’ll see six sliders. Each one controls a different part of your aim:
| Setting | Controls |
|---|---|
| General | Camera speed during free look and movement |
| Red Dot | Aim speed when using Red Dot sight |
| 2x Scope | Aim speed with 2x magnification |
| 4x Scope | Aim speed with 4x magnification |
| Sniper Scope | Aim speed with sniper rifles |
| Free Look | Camera rotation when using free look button |
Best Sensitivity Settings by Device Type
Your device’s refresh rate and RAM directly affects how these numbers should be set the same values that feel perfect on a 60Hz budget phone will feel uncontrollably fast on a 120Hz flagship.
For Budget Devices (3-4GB RAM, 60Hz screen):
Mid-range devices work best with sensitivity set to 174 and the Red Dot at 155. These settings provide a good balance that lets you hit headshots without causing uncontrollable screen shake.
| Setting | Value |
|---|---|
| General | 85-95 |
| Red Dot | 80-90 |
| 2x Scope | 75-85 |
| 4x Scope | 55-65 |
| Sniper Scope | 30-40 |
| Free Look | 70-80 |
For Mid-Range Devices (6-8GB RAM, 90Hz screen):
If you play on a 90Hz or 120Hz device, try increasing your General sensitivity by 5 compared to 60Hz settings higher frame rates and refresh rates make your movements smoother and more responsive.
| Setting | Value |
|---|---|
| General | 90-100 |
| Red Dot | 88-95 |
| 2x Scope | 82-90 |
| 4x Scope | 60-70 |
| Sniper Scope | 35-45 |
| Free Look | 75-85 |
For High-End Devices (8-12GB RAM, 120Hz screen):
High-end phones with 120Hz screens should use a lower sensitivity, such as 160 for General. Fast refresh rates make every swipe feel more responsive, so you don’t need to push the sliders to the max. If you use a flagship device, set your Sniper Scope to 40 for elite accuracy.
| Setting | Value |
|---|---|
| General | 95-100 |
| Red Dot | 90-100 |
| 2x Scope | 85-92 |
| 4x Scope | 60-70 |
| Sniper Scope | 35-45 |
| Free Look | 78-88 |
The One-Tap Headshot Sensitivity Settings
For consistent one-tap headshots specifically, the General and Red Dot values need to be high. The best sensitivity for Free Fire one-tap headshot 2026 usually includes high General and Red Dot values. This helps players drag the aim slightly upward and land consistent headshots.
The best all-around setting for most players is 95 for General and 90 for Red Dot. This configuration provides a stable response for both close-range shotgun fights and mid-range assault rifle sprays.
How to Actually Do a Drag Headshot
The drag headshot is the most effective technique for consistent headshots in Free Fire Max and sensitivity only works if your technique is right.
Don’t aim directly at the head initially. Start by aiming at the enemy’s chest. This gives you room to drag upward.
Here’s the step-by-step drag headshot method:
Step 1: Aim your crosshair at the enemy’s chest level not the head.
Step 2: Press fire and simultaneously drag your finger upward in a smooth motion.
Step 3: Move the fire button upward in a smooth motion to lock your crosshair onto the enemy’s head. This involves moving the fire button upward while firing not dragging the aim button.
Step 4: Use the jump + drag technique for close-range fights jump while dragging upward for an unpredictable angle that’s harder for enemies to counter.
The best weapons for drag headshots: M1887 is the king of drag headshots one shot to the head kills instantly. MP40 is great for close-range drag headshots with high fire rate. UMP is a balanced option with good damage and range.
Gyroscope Settings: The Hidden Headshot Weapon
The gyroscope is the most underused tool for headshots in Free Fire Max. Most players ignore it pro players rely on it.
Go to Settings, Controls, Gyroscope, and enable it for “Scope Only” (recommended) or “Always On.” Start with Scope Only it activates the gyro only when you open a scope, which is easier to learn and covers the highest-impact use case.
Set gyroscope sensitivity to 25-40 for the best results. Enable the gyroscope and set its sensitivity between 25-40 to manually counter recoil by tilting your phone down. At 25-35 gyro sensitivity, a small tilt brings the aim back to target level without overshooting. This is especially effective with the AK-47, M4A1, and Groza.
How to use it: To fix vertical recoil, tilt your phone down slightly as you fire your weapon. This physical movement is much more precise than trying to drag your thumb down a glass screen.
Graphics Settings That Help Headshots
Headshots aren’t just about sensitivity frame rate consistency plays a huge role. A frame rate drop at the wrong moment makes a drag shot miss entirely.
The best graphics configuration for headshot consistency is: Graphics set to Smooth, High FPS enabled, Aim Precision set to Precise on Scope, and Shadows turned Off.
Turn Shadows Off immediately. It’s the biggest single frame rate improvement in Free Fire Max and cleaner visuals mean enemies are easier to spot and aim at quickly.
Best Characters for Headshots
Your character choice directly supports your headshot rate. Laura’s ability increases accuracy when scoped in at max level she adds 35% accuracy, making her perfect for headshots. Pair her with Rafael for silent sniper shots, Jota for HP recovery on kills, and Moco to mark enemies and track them through walls.
Crosshair placement is non-negotiable regardless of character. Keep your crosshair at head level even when moving. This minimises the distance your crosshair needs to travel to land a headshot when you encounter an opponent.
Quick Settings Reference Table
| Device Type | General | Red Dot | 2x Scope | 4x Scope | Sniper | Free Look |
|---|---|---|---|---|---|---|
| Budget (60Hz) | 85-95 | 80-90 | 75-85 | 55-65 | 30-40 | 70-80 |
| Mid-Range (90Hz) | 90-100 | 88-95 | 82-90 | 60-70 | 35-45 | 75-85 |
| High-End (120Hz) | 95-100 | 90-100 | 85-92 | 60-70 | 35-45 | 78-88 |
How to Test and Dial In Your Settings
Never test new sensitivity in ranked matches. Practice drag shots on dummies by swiping up while firing. Test one-taps by tapping the fire button without dragging for close range. Adjust in 10-point increments until comfortable. Play Custom Rooms or Clash Squad to fine-tune in real scenarios.
The testing routine that actually works:
Spend 15-20 minutes in the Training Ground after every sensitivity change. Practice drag headshots on stationary dummies first, then moving targets. Only move to Clash Squad when your drag feels natural and consistent then ranked after Clash Squad feels comfortable.
The honest truth: sensitivity settings are the foundation, not the ceiling. Sensitivity helps with crosshair movement, but consistent headshots also require good crosshair placement, drag-shot practice, and familiarity with your preferred weapons.
Get the settings right, practice the drag in Training Grounds daily, keep your crosshair at head level always, and the headshots follow naturally. There’s no shortcut past that combination.