Tag: game performance tuning

  • Do You Really Need a $1,000+ PC for a Great Gaming Experience?

    Do You Really Need a $1,000+ PC for a Great Gaming Experience?

    No. And the sooner the gaming industry stops implying otherwise, the better.

    The real answer to this question starts with one question back at you: what do you actually play? Because the hardware you need for Valorant, PUBG Mobile on emulator, and Minecraft is completely different from what you need for Cyberpunk 2077 at 4K with ray tracing. Treating them the same is where the confusion and the overspending begins.

    The Myth That’s Costing People Real Money

    The idea that great gaming requires expensive hardware is one of the most successfully marketed myths in consumer technology. It feeds on comparison anxiety you see someone’s $2,000 battlestation on YouTube and assume that’s the entry price. It isn’t.

    A well-optimised $500 gaming PC can deliver impressive results, especially in esports titles. Valorant runs at extremely high frame rates, often exceeding 100 FPS even on high settings. Fortnite runs at smooth 60-70 FPS on competitive settings. Apex Legends is fully playable with balanced settings.

    If you play esports titles, a $500 machine is not a compromise. It’s genuinely the right tool for the job.

    The Specification Problem Nobody Explains

    Here is the thing manufacturers never tell you clearly: the minimum and recommended specs printed on a game’s store page apply only to that game running completely alone on a clean system.

    They do not account for:

    Windows itself consuming 3-5GB of RAM before you open a single app. That overhead is not optional it is the operating system doing its job, and it runs whether you want it to or not.

    Background processes you forgot were running including Discord, your browser, Steam client, Xbox Game Bar, OneDrive sync, antivirus scanner, and Windows Update downloading silently while you play.

    This is why a PC that technically meets “recommended” specs still stutters. The developer tested on a clean machine with nothing else running. Your machine is never clean. 16GB of RAM is the floor you may need to close unnecessary applications when playing resource-intensive games because Windows, a game launcher, and the game itself together are already pushing against that ceiling.

    The practical rule: always mentally add 4-6GB to any RAM requirement you read on a game’s store page. A game listed as needing 8GB actually needs 12-14GB in real-world conditions when Windows and your background apps are factored in.

    The Confusion That Sends People Overspending

    Most people approach hardware buying backwards. They look at the most demanding game they might ever want to play, find the recommended spec for that game, and build to that number. Then they pay for hardware they use at 20% capacity for 90% of their gaming sessions.

    The better question is: what is the ceiling of what you actually play today?

    If you are planning on mostly playing 2D indie games or esports games such as League of Legends and Valorant, you likely will not need a super-powerful machine since these titles are usually well-optimised to run on lower-end hardware.

    Here is the honest breakdown of what different types of players actually need:

    What You PlayReal Example GamesBudget NeededGPU Sweet SpotWhat to Skip
    Esports & Light GamesValorant, CS2, Roblox, PUBG Mobile emulator$400 – $500No GPU needed, integrated graphics worksDedicated GPU, RTX anything
    Popular Battle RoyaleFortnite, Apex Legends, Warzone (1080p)$500 – $700RX 6600 or RTX 3060Anything more powerful than these two
    Open World AAA (1080p 60FPS)GTA V, Cyberpunk, Hogwarts Legacy$600 – $800RTX 3060 Ti or RX 6700Expensive CPU, premium motherboard
    AAA at 1440pCyberpunk, Alan Wake 2, Black Myth$900 – $1,100RTX 4070 or RX 7800 XTFlagship GPU, extreme speed DDR5
    4K Max Settings Ray TracingEverything at absolute best visuals$2,000+RTX 4090 or RTX 5080Most people genuinely do not need this tier

    The last row in that table is where $1,000+ becomes relevant. Everything above it does not need it.

    The Hardware Myths That Drive Bad Purchases

    More cores means better gaming.

    It does not. Most modern games still rely heavily on strong single-thread performance and efficient scheduling rather than simply throwing more cores at the problem. That is why CPUs with fewer, faster cores often outperform chips with larger core counts in gaming workloads. Buying a 16-core CPU for gaming means paying for 10 cores that will sit idle during your entire session.

    You need an expensive motherboard for good performance.

    You do not. Budget and midrange CPUs run perfectly fine on mainstream boards. Unless you are chasing extreme overclocks, spending extra purely for a premium motherboard is money that could be better allocated elsewhere. A B650 or B760 board does everything a gaming PC needs.

    Future-proofing justifies spending more today.

    Future-proofing is a myth that hardware companies love. No amount of spending today prevents your build from being mid-range in 3-4 years. Instead of overspending now, build smart at mid-range and use the savings for a GPU upgrade in 2-3 years. The money you save buying appropriately today will buy you a better upgrade in two years than the premium you paid today ever justifies.

    The most expensive version of a component is the safest choice.

    The best build is not the one that spends the most it is the one that aligns with how you actually play. Performance is not just measured in frames.

    The Free Fixes Nobody Tries First

    Before spending a single dollar on hardware, do these things. Most people skip straight to buying parts without ever doing the free version first.

    Close Chrome before launching your game. Chrome holds 500MB-1GB of RAM open even with zero tabs visible. That memory comes directly out of what your game can use.

    Turn Xbox Game Bar off. Go to Settings, Gaming, Xbox Game Bar, and switch it off. It runs constantly, consumes CPU, adds input latency, and the vast majority of players never use it once.

    Set your Power Plan to High Performance. Windows defaults to Balanced mode on most systems, which throttles your CPU clock speed to save power including during gaming. Go to Control Panel, Power Options, and switch to High Performance. This is free and immediate.

    Pause Windows Update before gaming sessions. Windows Update downloads and installs silently in the background and competes directly with your game for CPU, RAM, and storage bandwidth. Pause it for 7 days in Settings, Windows Update, Advanced Options.

    Add your game folders to antivirus exclusions. Your antivirus scans every file write in real time during installation and gameplay. Adding your game library folder to Windows Defender exclusions stops this silent overhead completely.

    These five changes cost nothing and together deliver more real-world performance improvement than upgrading from 8GB to 16GB RAM would on many systems. Try them before you open PCPartPicker.

    The One Component Where Money Actually Matters

    If you are going to spend more anywhere, spend it on the GPU. Not the CPU, not the motherboard, not RGB lighting. The GPU.

    The GPU renders everything you see. For gaming, this is typically the most important component and where most of your budget should go.

    Everything else in a gaming PC exists to support the GPU doing its job. A fast CPU paired with a weak GPU produces a slow gaming machine. A modest CPU paired with a strong GPU produces a fast one. That hierarchy is consistent across almost every gaming workload that exists.

    Second priority is your monitor, not your PC components. A $700 PC driving a quality 1440p 144Hz monitor produces a better daily gaming experience than a $1,200 PC driving a 1080p 60Hz monitor that came free with a desk. Do not build a sports car and park it on a dirt road.

    The Honest Summary

    You do not need a $1,000+ PC for a great gaming experience. You need the right PC for the games you actually play.

    The best gaming PC in 2026 is the one that matches your needs, not just the highest spec sheet. Choose wisely and you will end up with a system that delivers great performance today and stays relevant for years to come.

    Start by answering what you play. Build to that ceiling. Do the free Windows optimisations first. Spend the GPU budget where it belongs. And stop measuring your gaming experience in dollars measure it in whether the game runs well for the way you actually play it.

    That is the only spec that matters.
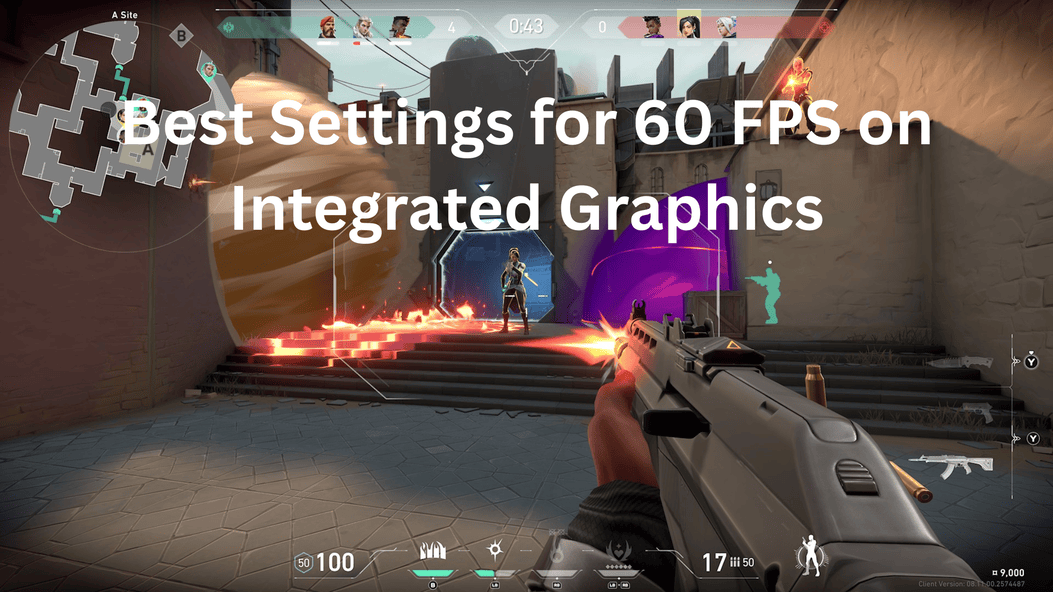
  • Valorant Low FPS Fix: Best Settings for 60 FPS on Integrated Graphics

    Valorant Low FPS Fix: Best Settings for 60 FPS on Integrated Graphics

    Here’s something most players don’t know. Valorant was built from the ground up to run on hardware your parents might have thrown out. Riot’s stated design goal was 30 FPS on a machine from 2014 using integrated graphics and they hit it. The minimum spec is an Intel Core i3-4150 with Intel HD Graphics 4000, no dedicated GPU required.

    That means 60 FPS on integrated graphics is genuinely achievable you just need to know exactly what to change. This guide gets you there, step by step.

    Why You’re Getting Low FPS on Integrated Graphics

    Integrated graphics share system RAM with your CPU there’s no dedicated VRAM. Every texture, shadow, and particle effect you render comes directly out of the same memory pool your OS and background apps are already competing for.

    The fix isn’t magic it’s about removing every unnecessary GPU and CPU load so everything your hardware has goes toward frame generation and hit registration. Nothing else.

    Step 1: The Resolution Drop Biggest Single FPS Gain

    This is the change that moves the needle more than anything else in the graphics settings menu. Resolution 1280×720 is the single biggest gain on integrated graphics. This alone takes most integrated setups from under 30 FPS to 45-60 FPS.

    If you want maximum boost, try 1024×768 (True 4:3). Unlike CS:GO, 4:3 in Valorant does not make enemy heads wider (hitboxes stay the same). However, it makes the crosshair and UI larger and can give you a 20-30 FPS boost on potato PCs.

    Set your display mode to Fullscreen never Windowed or Borderless. Both Windowed and Borderless add latency and reduce performance compared to exclusive Fullscreen.

    Step 2: In-Game Graphics Settings The Exact Values

    Go to Settings, click the Video tab, then Graphics Quality. Here’s exactly what to set for maximum FPS on integrated graphics:

    SettingValueWhy
    Multithreaded RenderingONGives the biggest single-setting FPS boost, typically adding 20-50% more frames on any CPU with 4 or more cores
    Material QualityLowDirect GPU load reduction
    Texture QualityLowAll quality settings: Low, no exceptions on integrated graphics
    Detail QualityLowOne of the few settings that impacts performance across all system types
    UI QualityLowReduces rendering overhead
    VignetteOffNo gameplay value, wastes GPU cycles
    V-SyncOFFCauses massive input lag always off
    Anti-AliasingNoneExpensive on integrated graphics
    Anisotropic Filtering1xLowest setting
    Cast ShadowsOffMajor performance cost, zero gameplay benefit
    BloomOffAdds visual noise that hides enemies
    DistortionOffGPU cost with no competitive upside
    NVIDIA ReflexOn + BoostReduces input latency even on low-end hardware

    The single most important setting on this entire list is Multithreaded Rendering. Turning it off can halve your FPS. Patches sometimes reset it and a shocking number of players have it flipped off from some old troubleshooting attempt that never got reversed. Check it every time after a major patch.

    Step 3: Windows Power Plan Fix

    Windows is actively throttling your integrated graphics and you don’t know it. Sometimes the problem isn’t the game it’s Windows trying to save power. This is a Windows feature that limits your CPU and GPU performance to save battery.

    Fix it in two steps:

    1. Search “Power Plan” in the Windows start menu
    2. Select High Performance or Ultimate Performance (if available)

    This is especially critical on laptops most laptops default to Balanced or Power Saver mode, which actively reduces CPU clock speeds during gaming. Switching to High Performance unlocks your processor’s full clock speed and your integrated GPU’s maximum operating frequency.

    Step 4: Intel and AMD Integrated Graphics Driver Settings

    Your integrated graphics driver has its own performance settings and the defaults are not set for gaming.

    For Intel Integrated Graphics (Intel HD/UHD/Iris Xe): Open Intel Graphics Command Center, find Valorant under Gaming, and set these:

    Intel SettingValue
    Application Optimal ModeOn
    Graphics Performance PreferencePerformance
    Vertical SyncOff
    Anisotropic FilteringApplication Default

    For AMD Integrated Graphics (Ryzen APU with Radeon Vega/RDNA): Open AMD Radeon Software, navigate to the Gaming tab, and select Valorant. AMD’s Anti-Lag feature works similarly to NVIDIA Reflex and can reduce input latency by a full frame on lower-end hardware.

    Set Radeon Anti-Lag to On and Graphics Profile to eSports this profile reduces visual quality in favour of raw frame rate, which is exactly what integrated graphics needs.

    Step 5: Allocate More RAM to Integrated Graphics

    On most laptops and desktops with integrated graphics, you can increase the shared VRAM allocation in the BIOS and this makes a meaningful difference in Valorant.

    How to do it:

    1. Restart your PC and press Delete, F2, or F10 to enter BIOS (varies by manufacturer)
    2. Look for “UMA Frame Buffer Size”, “Shared Memory Size”, or “IGPU Multi-Monitor” depending on your board
    3. Change from 128MB or 256MB to 512MB or 1GB
    4. Save and restart

    More shared VRAM means fewer texture streaming stalls which is one of the main causes of sudden FPS drops mid-match on integrated graphics.

    Step 6: Close Everything Before You Launch

    Integrated graphics has no VRAM buffer to absorb background app overhead. Every MB of RAM your background apps consume is a MB taken from Valorant.

    Close or disable before launching:

    • Browser (Chrome especially 300-500MB minimum)
    • Discord (close it or set to push-to-talk to reduce CPU)
    • Windows Update (pause for 7 days in Settings)
    • OneDrive and any cloud sync
    • Xbox Game Bar (Settings, Gaming, Xbox Game Bar, Off)
    • Background apps in Settings, Privacy, Background Apps

    Set Valorant’s priority to High in Task Manager after launching find Valorant.exe, right-click, Set Priority to High this forces Windows to give Valorant more CPU time over background processes.

    Step 7: Update Your Integrated Graphics Driver

    Outdated drivers are one of the most common hidden causes of low FPS on integrated graphics. AMD’s 2025-2026 drivers have introduced significant performance improvements for older GPUs. After installing new drivers, restart your PC. This step takes five minutes and can genuinely add 5-15 FPS across the board.

    For Intel: Download the latest driver from Intel’s Driver Support page search “Intel Driver and Support Assistant” and run the automatic detection tool.

    For AMD APUs: Download directly from AMD’s website under Drivers and Support, enter your APU model number, and install the latest Adrenalin Edition driver.

    What FPS to Expect After All Optimisations

    HardwareBefore OptimisationAfter Optimisation
    Intel HD 4000 (i3-4150)15-25 FPS35-50 FPS
    Intel UHD 620 (i5-8250U)30-40 FPS55-70 FPS
    Intel Iris Xe (i5-1135G7)50-70 FPS80-100 FPS
    AMD Radeon Vega 8 (Ryzen 5 2500U)40-55 FPS65-80 FPS
    AMD Radeon 680M (Ryzen 7 6800H)70-90 FPS100-130 FPS

    The One Setting Most Players Still Get Wrong

    Multithreaded Rendering is the setting that matters most. Turning it off can halve your FPS it’s on by default but patches sometimes reset it.

    Every time Valorant updates, check this setting first. It takes five seconds and it’s the difference between playable and unplayable on integrated graphics. Everything else on this list matters but this one setting has ended more ranked games than any other.

    Follow every step in order, check Multithreaded Rendering after every patch, and 60 FPS on integrated graphics is not just possible it’s consistent.

  • Which Types of RAM Are Best for Gaming?

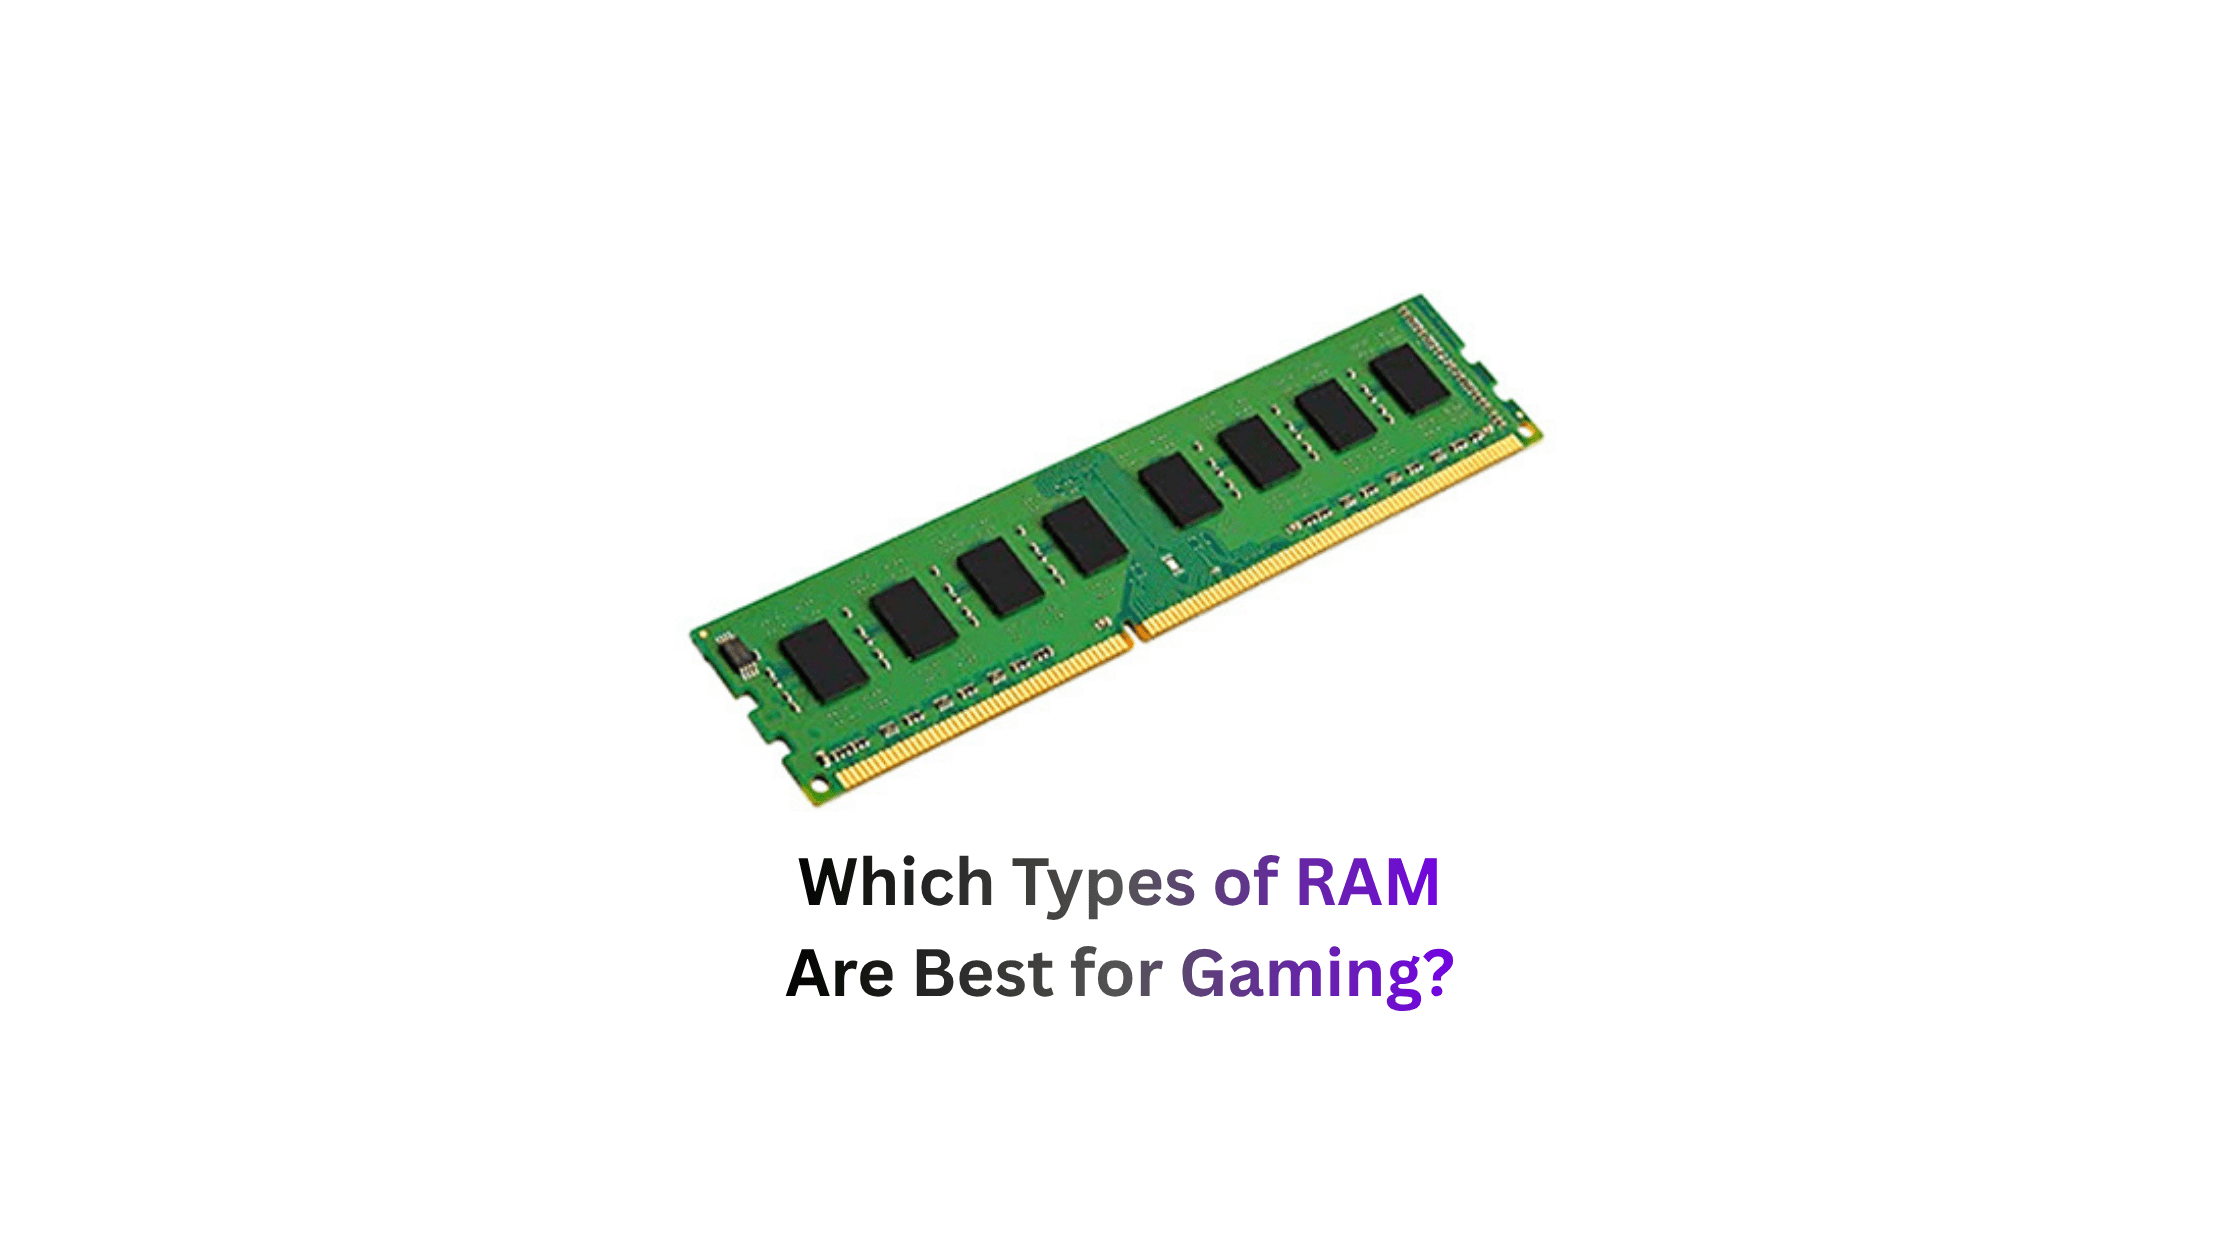
    Which Types of RAM Are Best for Gaming?

    RAM is one of those components that most people buy once and never think about again. But in 2026, the wrong RAM choice can cost you real performance and the right choice depends entirely on your platform, budget, and what you’re gaming on. Here’s everything you need to know, broken down clearly.

    First: Understand the RAM Types That Actually Affect Gaming

    Not all RAM is the same and different types serve completely different purposes. Before picking a kit, you need to know which type is relevant to your specific device.

    Here’s the full breakdown:

    RAM TypeUsed InWhat It Does
    DDR4Desktop PCs, older laptopsGeneral-purpose system RAM, AM4 and LGA 1700 platforms
    DDR5Modern desktop PCs, new laptopsCurrent-gen standard, AM5 and Intel 12th gen onwards
    LPDDR5Laptops, phones, tabletsLow-power DDR5 for mobile devices, soldered in place
    LPDDR5XUltrabooks, handhelds, flagship phonesFaster version of LPDDR5, better for AAA mobile gaming
    GDDR6/GDDR6XGPU VRAMGraphics card memory, not upgradeable by user
    GDDR7Latest GPUs (RTX 5000, RX 9000)Next-gen GPU VRAM, 2x bandwidth of GDDR6
    HBM3/HBM4AI chips, server GPUsUltra-high bandwidth, not relevant to consumer gaming

    The types that matter for most gamers are DDR4, DDR5, and LPDDR5. Everything else is either inside your GPU or inside your phone.

    DDR4: Still Alive and Genuinely Good

    DDR4 is not dead in 2026 and if you’re on an AM4 or LGA 1700 platform, it still makes a strong case. DDR4 was the de facto memory standard for PCs for the last decade and still performs very well in gaming. Real-world benchmarks consistently show DDR4 running at 3200 to 3600 MHz coming within 5% of budget DDR5 in most gaming workloads.

    Testing shows that a 32GB DDR4-3200 or 3600 MHz kit performs within 5% of entry-level DDR5 in most games.

    At 1440p and 4K the gap shrinks even further because the GPU becomes the main bottleneck anyway. The real-world performance differences are small and non-existent in GPU-limited scenarios such as 4K gaming, which is usually the case unless you’re chasing very high frames per second.

    The sweet spot for DDR4 gaming in 2026:

    On Intel platforms, 3200 MHz with CL16 timing gives strong, stable performance on most boards. On AMD Ryzen, 3600 MHz is the better target because it aligns the Infinity Fabric at 1800 MHz, which lowers latency and improves 1% lows in CPU-sensitive games.

    Should you upgrade from DDR4 to DDR5? If you have a good DDR4 kit, let’s say a 2×16 GB DDR4-3200 C14 kit or better, there’s little reason to spend the money to upgrade to DDR5 for gaming.

    DDR5: The Current Standard for New Builds

    If you’re building a new PC in 2026, DDR5 is the only sensible choice. It’s certainly sensible to opt for DDR5 when making a new purchase, especially as it’s also an investment in the future. New gaming titles with high demands will run significantly better on DDR5 than on DDR4, and the next upgrade to DDR6 won’t appear until 2027 at the earliest.

    DDR5 isn’t just faster it’s architecturally different. DDR5 supports larger memory capacity, higher bandwidth, and is more efficient. DDR5 is twice as fast as DDR4 and quadruples the per-die memory density. It also splits the larger 64-bit channel into two independent 32-bit subchannels.

    The performance gains are real at 1080p. At 1080p with a fast GPU and CPU-bound games, DDR5 can show 10-20% higher frame rates. For competitive gaming at high refresh rates, DDR5 6000 is the better choice.

    The Right DDR5 Speed for Your Platform

    This is where most people get it wrong buying the fastest DDR5 kit available isn’t always the best move. Your CPU’s memory controller has a sweet spot, and exceeding it gives you diminishing returns.

    Different processors need different memory configurations for optimal performance. DDR5 only sweet spot is 6000 MT/s CL30 for perfect 1:1 sync with memory controller on AMD. X3D chips need nothing faster. Arrow Lake benefits from 6400 to 8000 speeds. CUDIMM technology stabilizes extreme frequencies above 8000 MT/s.

    Here’s the platform-specific sweet spot table:

    PlatformBest DDR5 SpeedNotes
    AMD AM5 (Ryzen 7000/9000)DDR5-6000 CL30Perfect 1:1 Infinity Fabric sync
    AMD AM5 X3D chipsDDR5-6000Going faster adds no gaming benefit
    Intel Arrow Lake (Z890)DDR5-6400 to 8000CUDIMM helps above 8000 MT/s
    Intel Core 13th/14th GenDDR5-5600 to 6000Stable sweet spot
    Budget DDR5 buildsDDR5-5600Solid entry point, good value

    CUDIMM technology costs a significant premium and only benefits Intel Z890 boards running above 8000 MT/s. Most gamers see negligible real-world gains. Standard UDIMM DDR5-6400 offers 95 percent of the performance at half the cost.

    How Much RAM Do You Actually Need?

    The minimum bar has moved in 2026 and it moved faster than most people expected. Several 2024-2026 titles have reported performance issues with 16GB, and memory usage in open-world games is creeping up. 32GB DDR5 is the recommended baseline for a future-proof gaming PC, not overkill.

    We suggest starting with 16GB for DDR4 systems. For DDR5 systems, only use two sticks. At higher speeds, memory controllers don’t work well with 4-stick setups. If you can afford it, 32GB is the best amount.

    Here’s the honest capacity guide:

    RAM AmountWho It’s ForReality Check
    8GBAbsolute budget minimumStutters in modern open-world games
    16GB DDR4Budget gaming, older platformsHandles current games, tight on newer titles
    16GB DDR5Mid-range new buildsWorks fine today, may need upgrade by 2028
    32GB DDR4Existing DDR4 systems future-proofingBest value upgrade for older platforms
    32GB DDR5New builds, recommended baselineThe default recommendation for 2026 builds
    64GB DDR5Content creators, streaming while gamingOverkill for pure gaming but useful for multitaskers

    LPDDR5 and LPDDR5X: For Laptop and Mobile Gamers

    If you game on a laptop, ultrabook, or handheld, LPDDR5 is your RAM type and you cannot upgrade it. LPDDR is a low-power version of DDR RAM, designed for energy efficiency. It’s used in devices where battery life is a priority. LPDDR5 is soldered directly onto the motherboard you choose your capacity when you buy the device, and that’s it forever.

    LPDDR5X is the version that actually matters for gaming laptops in 2026. With the introduction of LPDDR5X, bandwidth has reached or even surpassed that of DDR5, enabling smooth performance when running AAA games on devices like ultrabooks.

    The trade-off is thermal limits. Sustained heavy gaming on LPDDR5X devices runs into the thermal ceiling of the chassis faster than a desktop DDR5 system which is why gaming laptops with LPDDR5X still throttle under extended load in ways desktop builds don’t.

    GDDR7: The GPU VRAM Revolution

    Your GPU has its own separate RAM and in 2026, GDDR7 is the new standard on RTX 5000 and RX 9000 cards. GDDR (Graphics Double Data Rate) memory is similar to DDR RAM but optimized for graphical workloads. Current GPUs use GDDR6 or GDDR6X.

    GDDR7 doubles the bandwidth of GDDR6 which is critical for 4K gaming where texture streaming from VRAM is the bottleneck. If your GPU runs out of VRAM, textures spill over into system RAM, and the bandwidth difference between GDDR7 and DDR5 creates a massive performance gap.

    This is why VRAM capacity matters alongside system RAM. A GPU with 12GB of GDDR7 is significantly faster than one with 12GB of GDDR6 even at the same capacity.

    What’s Coming Next: DDR6

    DDR6 is on the horizon but not worth waiting for. Desktop DDR6 won’t arrive before late 2027 or early 2028. Waiting means losing 1-2 years of performance. New standards come with high prices at launch, initial BIOS bugs, limited compatibility, and low stock. Current DDR5 remains very performant for 3-5 years minimum.

    The one exception is mobile. For laptops and mobile: if renewing late 2026, targeting LPDDR6 may make sense. The first LPDDR6 smartphones and laptops are expected in Q3/Q4 2026.

    Quick Verdict: Which RAM is Best for Your Situation?

    Your SituationBest RAM Choice
    New desktop build 202632GB DDR5-6000 CL30 (AMD) or DDR5-6400 (Intel)
    Existing AM4 or LGA 1700 system32GB DDR4-3600 CL16 no need to upgrade
    Budget new build16GB DDR5-5600 as a starting kit
    Gaming laptop buyerLook for LPDDR5X, minimum 16GB
    Competitive 1080p gamingDDR5-6000 the 10-20% FPS gains are real here
    4K gamingRAM generation barely matters, GPU is the bottleneck
    Should I wait for DDR6?No build now with DDR5, upgrade in 2028

    The honest bottom line for 2026: DDR5 is technically better, especially at high frequencies. In practice, the difference at 1440p and 4K is small under 5% in most games. Going 32GB DDR5-6000 is the default recommendation for any new gaming PC in 2026.

    If you already have DDR4 and it’s running at 3200-3600 MHz with 32GB stay there. Switching from DDR4 to DDR5 requires a new motherboard and usually a new CPU. The gaming performance gain does not justify that cost. If you are already planning a full build, yes, go DDR5. Otherwise, put the money toward your GPU.

  • Tips to Install Games Faster on Windows

    Tips to Install Games Faster on Windows

    Waiting hours for a game to install is genuinely painful especially when you just paid for it. The good news is most slow installations are fixable with the right settings. Here’s every trick that actually works, in order of impact.

    First Understand Why It’s Slow

    There are two separate speed problems and most people confuse them. Downloading is getting the compressed files to your PC installing is decompressing, verifying, and writing them to the correct directories. You can have gigabit internet and still wait an hour if your storage drive is slow.

    Your storage drive is almost always the real bottleneck not your internet connection. Fix both and you’ll see a dramatic difference.

    Tip 1 Move Games to an SSD Immediately

    This is the single most impactful change you can make. Upgrading from an HDD to even a basic SATA SSD is the most significant quality-of-life improvement you can make for your gaming rig it not only speeds up installations dramatically but also reduces game loading times.

    Here’s the real-world write speed difference:

    Drive TypeWrite SpeedImpact
    HDD (7200 RPM)120–220 MB/sBottlenecks gigabit internet on large installs
    SATA SSD450–530 MB/sHandles any consumer internet speed
    NVMe SSD (PCIe 4.0)3,000–7,000 MB/sNever the bottleneck

    If you’re downloading to an HDD and your speed fluctuates between fast and zero that’s the drive struggling to keep up, not your internet failing. Steam downloads data faster than the disk writes it, causing repeated pauses while the disk catches up.

    Tip 2 Keep at Least 15–20% Free Space on Your Drive

    A full drive installs games dramatically slower and most people don’t know this. When an SSD or HDD fills up past 85% capacity, write speeds degrade significantly because the drive has to work harder to find empty blocks.

    You also need breathing room for installation itself. You need roughly 3x the game’s final size as free space for download, decompression, and installation to complete. A 100GB game needs about 300GB free during installation plan ahead.

    Tip 3 Add Your Game Folders to Antivirus Exclusions

    Antivirus is silently throttling your downloads and it’s one of the most common hidden causes of slow installs. Antivirus programs deeply scan all network traffic and disk writes in real time this analysis overhead severely throttles Steam downloads. Add folder exclusions for your Steam installation and game library directories to prevent scanning and restore full speed without disabling protection.

    Here’s exactly how to add the exclusion in Windows Defender:

    1. Open Windows Security → Virus & Threat Protection
    2. Click Manage Settings → Add or Remove Exclusions
    3. Add folder: C:\Program Files (x86)\Steam and your game library folder
    4. Never exclude just Steam.exe scanning happens during file writes, not just on the executable

    A real case: One user had 972Mbps internet showing only 2.7Mbps download speed in Steam adding the steamapps folder to antivirus exclusions fixed it immediately.

    Tip 4 Disable Metered Connection

    Windows secretly throttles downloads on connections it marks as metered. Windows 10 and 11 mark many connections as metered by default especially Wi-Fi and mobile hotspots which caps background download speeds.

    To fix it: Go to Settings → Network & Internet → Wi-Fi → your network → Set as metered connection → Off. This one change alone can double download speeds on affected connections.

    Tip 5 Use Ethernet Instead of Wi-Fi

    Wi-Fi introduces packet loss and inconsistent speeds that directly slow down installations. Ethernet provides optimal download speeds Wi-Fi does not always provide the full speed your internet connection is capable of.

    Even a cheap ethernet cable makes a measurable difference especially over long installations where Wi-Fi signal fluctuations compound over hours.

    Tip 6 Change Your Download Region (Steam)

    Steam download servers get congested during peak hours and major sales switching regions fixes it. The closer the servers are to you, the more bandwidth they can use but during congestion, a server in a different time zone can actually be faster than your nearest one.

    How to change it: Steam → Settings → Downloads → Download Region → pick a different country. Start downloads late at night or early morning to avoid server congestion or temporarily change your Download Region to a region in a different time zone with less traffic.

    Tip 7 Set Process Priority to High

    Force Windows to give your game launcher more CPU and network resources. Open Task Manager → find your launcher (Steam.exe, EpicGamesLauncher.exe) → right-click → Go to Details → right-click again → Set Priority → High.

    This forces your system to prioritise the download process over background apps competing for resources. It’s especially effective on lower-end machines where CPU is also a bottleneck during installation.

    Tip 8 Close Everything Eating Bandwidth

    Background apps silently consume your internet while games download. Check if other applications are using your bandwidth watching high-resolution videos on YouTube while downloading a game affects the speed significantly. Other applications might also be downloading updates in the background.

    Close or pause these before starting a big installation:

    • Browser tabs (especially video streaming)
    • Windows Update (pause for 7 days in Settings)
    • OneDrive and Google Drive sync
    • Discord (it updates silently)
    • Any other game launcher with pending updates

    Tip 9 Clear Your Download Cache (Steam)

    Corrupted cache files cause most unexpected download slowdowns and failures. Go to Steam → Steam Menu → Settings → Downloads → Clear Download Cache. This removes corrupted temporary files that cause most download failures and slowdowns.

    Do this first if Steam suddenly starts downloading slower than usual it’s the fastest fix that requires zero technical knowledge and takes under a minute.

    Tip 10 Disable Streaming Throttle in Steam

    Steam silently caps your download speed when it detects streaming activity and most people never know. This setting is enabled by default and silently caps Steam’s download speed whenever Steam detects an active Remote Play session, in-home streaming, or broadcasting. Unless you actively need smooth streaming over fast downloads, turn it off in Settings → Downloads.

    It’s one of the most common hidden throttles on fast connections and it’s buried deep enough that most users never find it.

    Tip 11 Disable VPN During Downloads

    VPNs add extra routing and encryption overhead that directly slows down game downloads. VPNs add extra routing and encryption overhead which slows downloads pause or disable your VPN while downloading and whitelist Steam in your firewall.

    If your VPN actually makes downloads faster that means your ISP is throttling unencrypted traffic. Run a speed test with and without VPN if VPN speed is 50% or more faster, your ISP is throttling you and VPN is actually the right tool to use.

    Quick Reference Tips by Problem

    Your SymptomThe Fix
    Download speed fluctuates between fast and zeroStorage drive can’t keep up move to SSD
    Fast internet, slow Steam downloadsAdd Steam folder to antivirus exclusions
    Downloads slow at certain timesChange Steam download region or download overnight
    Speeds fine, installation still slowSSD upgrade HDD write speed is the bottleneck
    Download keeps stopping randomlyClear Steam download cache
    Wi-Fi download slower than expectedSwitch to Ethernet cable
    Everything else normal, still slowDisable metered connection in Windows
    Streaming and downloading simultaneously slowDisable streaming throttle in Steam settings

    The honest priority order: SSD first, antivirus exclusions second, close background apps third. Those three changes fix 90% of slow game installations on Windows everything else is fine-tuning on top of a solid foundation.

  • Age of Empires 2 DE Optimization Tips for Better Gameplay (2026 Edition)

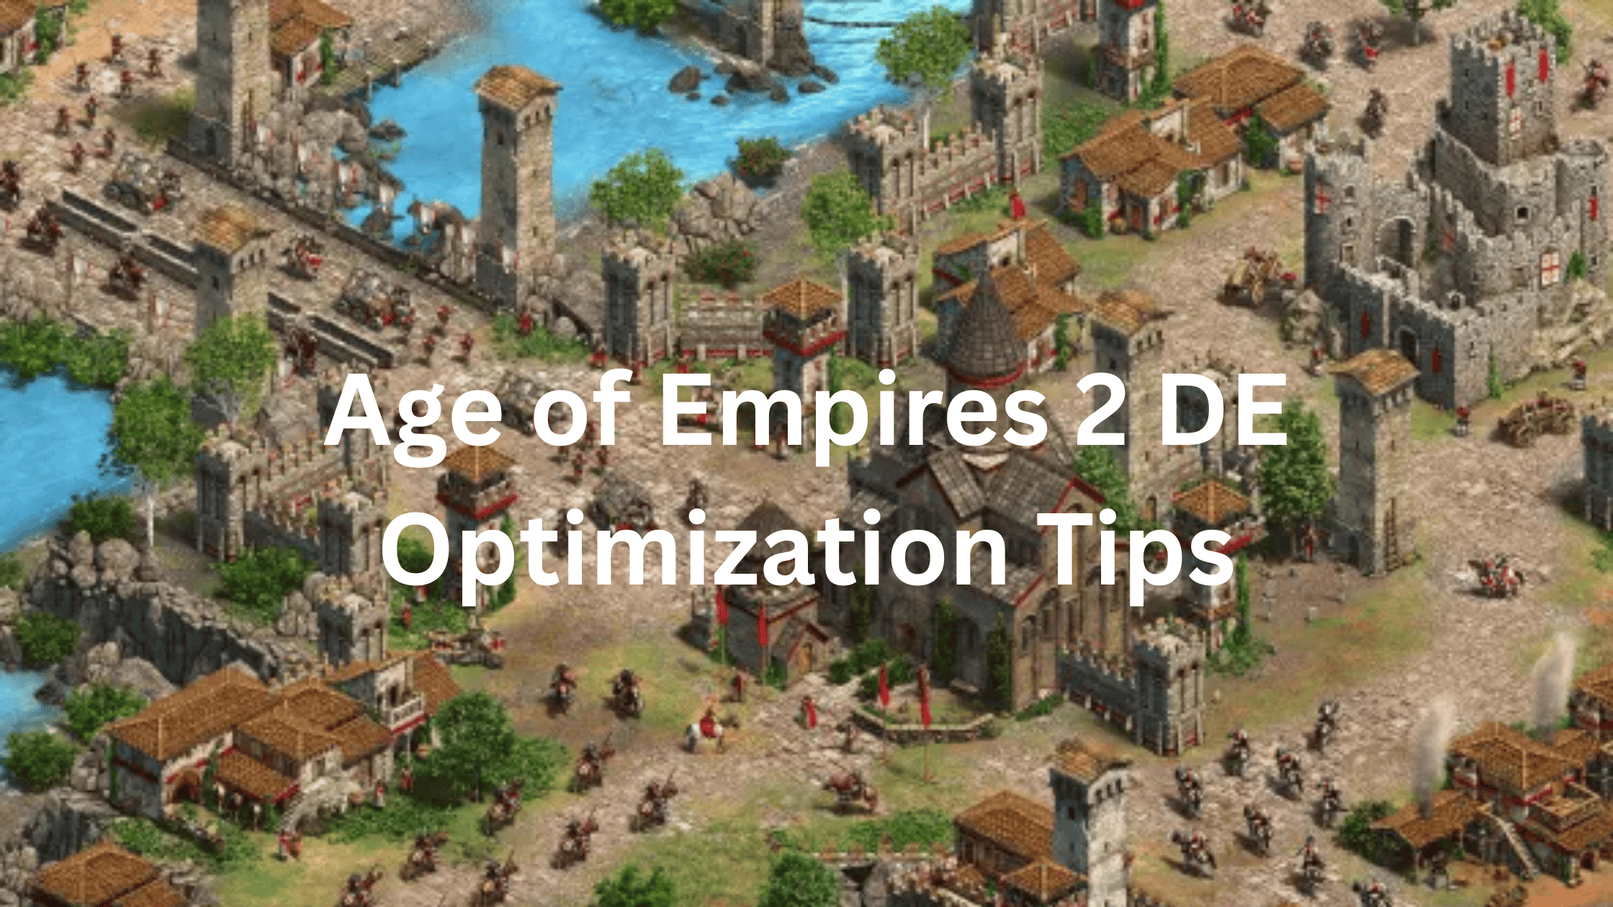
    Age of Empires 2 DE Optimization Tips for Better Gameplay (2026 Edition)

    AoE2 DE is one of those games that looks simple until someone with 2,000 hours destroys your base in 10 minutes. The gap between a casual player and a good one comes down to PC settings, hotkeys, and economy discipline and all three are fixable right now.

    Here’s everything, in order.

    Part 1 PC Performance Optimization

    The Settings That Actually Move the Needle

    AoE2 DE is more CPU-dependent than GPU-dependent – large maps with 500 population units are CPU workloads, not graphics card workloads. Don’t waste time tweaking visual settings when your bottleneck might be elsewhere.

    Disable V-Sync, Anti-Aliasing, and Enhanced Graphics – these three settings have the biggest direct impact on FPS without affecting gameplay at all. Turn them off first before touching anything else.

    Map size and population cap are the biggest performance variables in the game. The larger the map and higher the population, the more it taxes your computer if you’re having performance problems, try creating a smaller map or capping population at 200 per team.

    Animate Fog and blood effects also eat GPU memory especially on integrated graphics where CPU and GPU share the same RAM pool. Turn off fog animations and reduce any settings that use GPU memory if you’re on a shared memory setup.

    Force High Performance Mode in Windows

    Windows doesn’t always use your GPU properly for AoE2 DE force it manually. From the Windows Start Menu, search for Graphics Settings → Browse → select AoE2DE_S.exe from your Steam folder → click Options and choose High Performance → save and relaunch.

    This single change fixes the “good PC, bad performance” problem that confuses a lot of players Windows quietly assigns the wrong GPU adapter to the game until you override it.

    The Threaded Optimization Fix

    If you’re getting stutter on an NVIDIA GPU, disable Threaded Optimization. Disabling threaded optimization in the NVIDIA Control Panel under Manage 3D Settings significantly reduces stutter and stabilises FPS before this fix, some users described the game as a slideshow.

    Go to NVIDIA Control Panel → Manage 3D Settings → Program Settings → AoE2DE → Threaded Optimization → Off. It’s counterintuitive but widely verified across the community.

    Network Optimisation for Multiplayer

    Multiplayer lag in AoE2 DE is often a network configuration issue, not a PC issue. Close other programs accessing the internet browsers, other game clients, streaming apps and limit other devices on your network during matches.

    Open these ports for the best connection quality: TCP Port 8888, UDP Port 9999, and Port 3478 (both UDP and TCP) forwarding these on your router eliminates most connection instability in multiplayer sessions.

    Graphics Settings Reference Table

    SettingRecommended ValueImpact
    V-SyncOffDirect FPS gain
    Anti-AliasingOffGPU headroom
    Enhanced GraphicsOffCPU and GPU relief
    Animate FogOffReduces memory usage
    Shadow QualityLow or OffCPU saving on large maps
    ResolutionNativeDrop to 75% if struggling
    Population Cap200 per teamReduces late-game CPU load
    Map SizeSmall/Medium for low-end PCsBiggest single performance variable

    Part 2 Gameplay Optimization: Play Like a Pro

    The One Rule That Explains 90% of Losses

    Never stop producing villagers ever. Ceasing production of villagers is what gets most players killed if you ever think “I wish I had more food,” the answer is always more villagers on food.

    Keep your Town Centre producing at all times. Right from the start keep the TC producing whether villagers or research and as soon as you reach Castle Age, build additional Town Centres to accelerate production further.

    Master the Dark Age Default First

    Every pro player has a “Dark Age default” a set opening they can execute on autopilot. Pro players have a set yet flexible method of blasting through the Dark Age they know what to prioritise and build, keeping the game plan consistent while adapting to the opponent.

    Start with the 23 Pop Archer build order and practice it 3–10 times a day against AI. The 23 Archers build is the easiest to learn and teaches the core economy loop that underpins every intermediate and advanced build order in the game. The specific units matter less than ingraining the economy habits.

    Build Order Benchmarks Know If You’re Improving

    Track these timestamps to know if your Dark Age is actually getting better:

    Clicking Feudal Age with 22 population at 8:07 is the maximum benchmark or 23 population at 8:35. Hitting Feudal Age with 12 to 14 farms before 15 minutes confirms your eco transition is working correctly.

    Research economic upgrades the moment you hit Feudal Age every second of delay on Loom, Double-Bit Axe, and Horse Collar compounds across the rest of the game.

    Hotkeys The Skill That Separates Everyone

    The single most important hotkey in AoE2 DE is the period key (.) The idle villager hotkey instantly selects your next idle villager so you can put them back to work without losing sight of your army it’s the most impactful single shortcut in the game.

    Learn these five hotkeys before anything else:

    HotkeyActionWhy It Matters
    HSelect Town CentreQueue villagers without clicking around
    . (period)Select idle villagerNever waste a villager second
    Ctrl + 1–9Assign control groupManage army and eco simultaneously
    1–9Select control groupInstant army access without camera move
    QEconomic build menuBuild drop-off points instantly

    Alt + Q opens the economic view instantly showing how many villagers you have on each resource for fast economic balancing without breaking your rhythm.

    Control Groups The Habit That Makes You Dangerous

    Assign your army to Ctrl+1 the moment you produce units. Control groups let you attack on one side of the map while simultaneously queuing villagers from your Town Centre this is the core skill separating intermediate from advanced players.

    Use Shift-click to queue multiple commands without babysitting units. Send your scout to explore, hold Shift and click multiple waypoints the scout follows the entire route while you focus on economy. This one habit alone doubles your effective map coverage in the Dark Age.

    Economy Distribution Don’t Stockpile Resources

    Resources sitting in your stockpile are wasted resources. Having lots of resources in stockpile is not good you have to spend them. Focus on 1 or 2 unit types and mass them, researching their upgrades and dedicating your economy to the resources those units need.

    The resource-to-unit mapping is simple: Archers need Wood and Gold build Lumber Camps and Gold Mines. Knights need Food and Gold build Farms and Gold Mines. Pick your unit, feed the right resources, don’t split equally across everything.

    Rushing Why It Works and When to Use It

    An early rush isn’t about winning instantly it’s about economic damage and map control. Scout Rush and Archer Rush are the most common early strategies the objective is to kill villagers, gain map control, and create an economic advantage that snowballs through the rest of the game.

    Killing even two or three villagers early puts your opponent permanently behind. If you kill villagers, develop your economy even further reach Castle or Imperial Age earlier and produce more units than the enemy can match, because more resources always equals more units.

    Best Beginner Civilisations to Learn With

    Don’t try to learn AoE2 on a complex civilisation. Huns, Britons, and Persians are the most beginner-friendly civilisations Huns don’t need houses saving significant wood for military production, Britons consume sheep faster keeping the Town Centre in constant villager production, and Persians start with extra resources allowing constant villager production from the very first seconds.

    Pick one of these three and stick with it for your first 50 games. Mastering a simple civilisation teaches you the game’s core systems switching civilisations is easy once the fundamentals are solid.

    Watch Replays The Free Coaching Nobody Uses

    Watching your own replays is the fastest improvement method in the game. Watching and analysing your replays and pro replays gives you an outside view of your economy gaps, idle time, and unit micro mistakes that are invisible while you’re playing.

    TheViper and Hera on YouTube are the community’s go-to pro players for learning. You can even download their hotkey profiles directly from the community using a pro player’s hotkey layout from the start builds the right muscle memory immediately rather than having to retrain habits later.

    The honest truth about AoE2 DE improvement: Economy first, hotkeys second, military third. Every game you lose to a stronger player is a game where their villagers outworked yours fix the villager production habit before anything else, and the rest follows naturally.

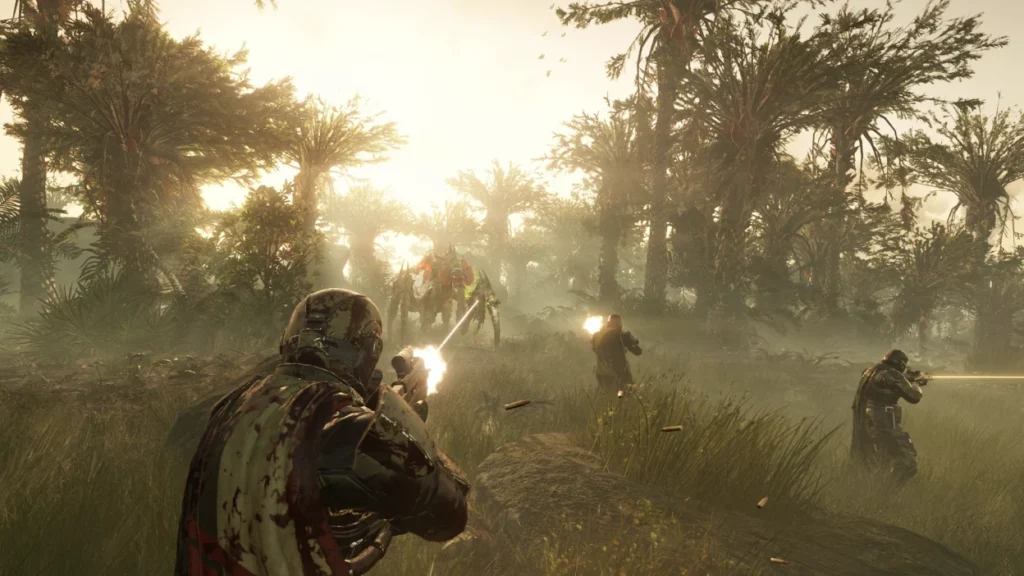
  • Helldivers 2 Optimization Tips for Better Gameplay (2026 Edition)

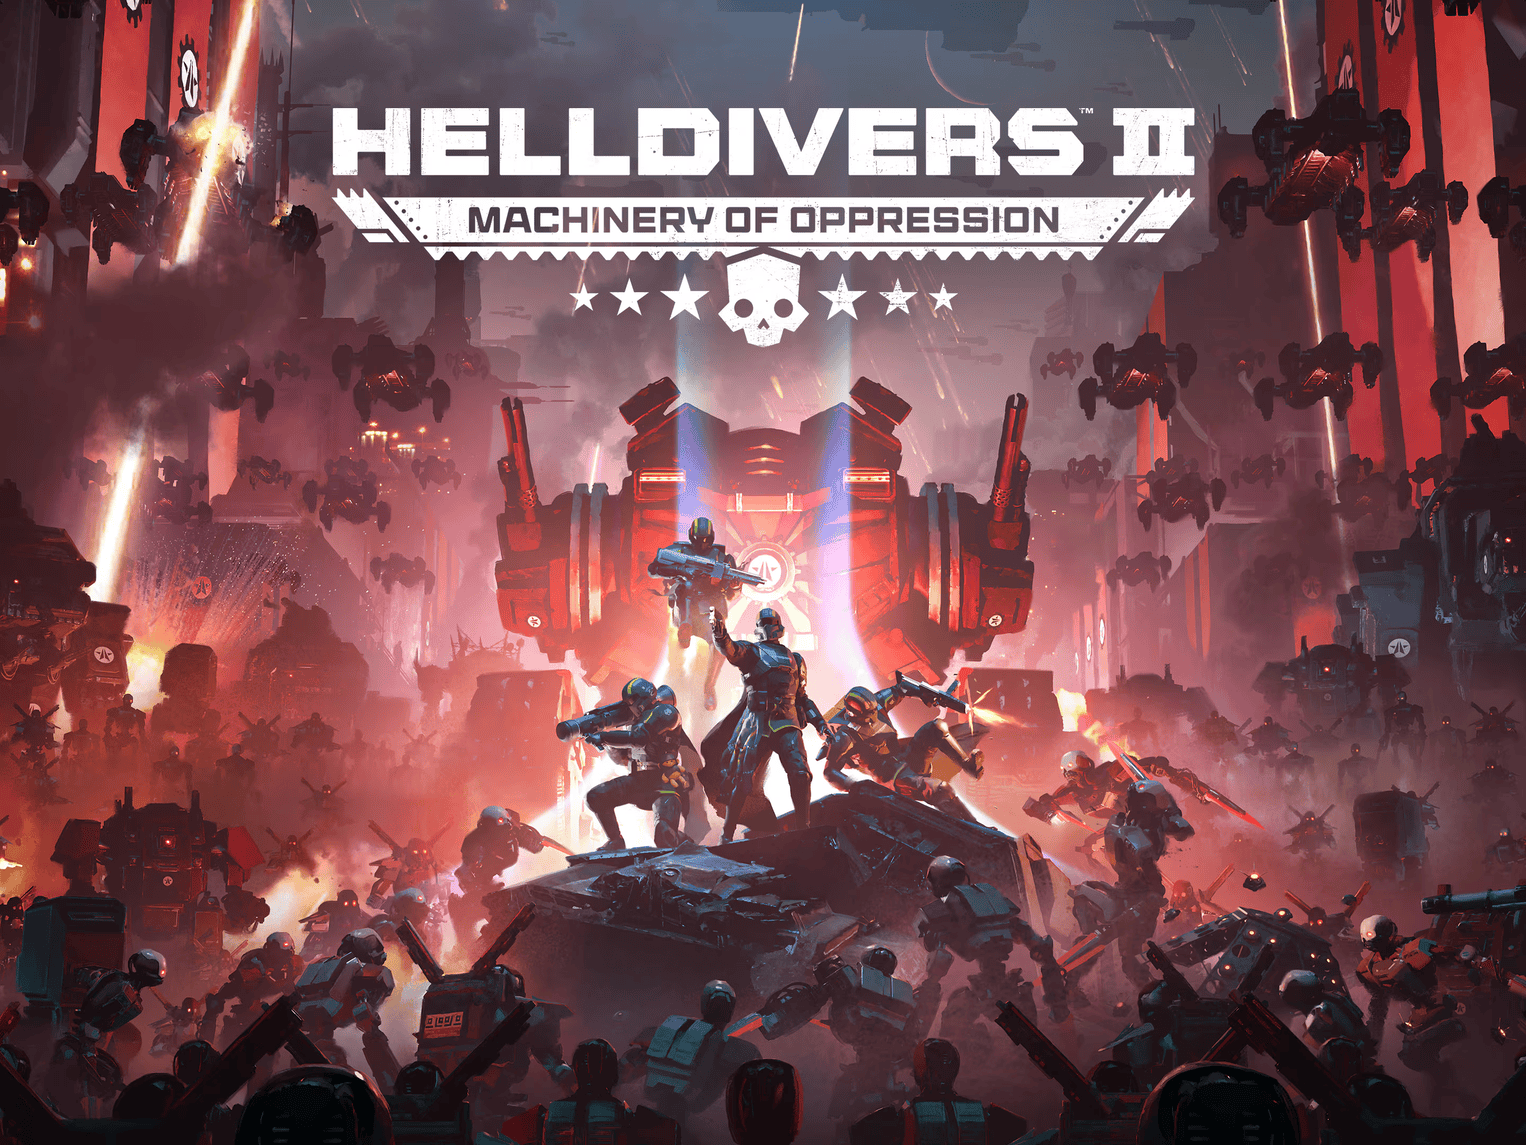
    Helldivers 2 Optimization Tips for Better Gameplay (2026 Edition)

    Whether you’re dying on Difficulty 7 or grinding Super Helldive, the gap between a good Helldiver and a great one comes down to settings, loadout logic, and mission discipline. Here’s everything you need PC performance first, then battlefield strategy.

    Part 1 PC Performance Optimization

    The Real FPS Killer Isn’t What You Think

    Most players attack shadow quality and textures first that’s the wrong approach for Helldivers 2. The game’s primary FPS killer is its particle simulation system every explosion, Terminid acid burst, and Automaton rocket impact generates hundreds of particles simultaneously, and in high-difficulty missions the particle load alone can cut frame rates by 30–40%.

    Target particles and volumetrics first, everything else second. That’s the order that actually moves the needle.

    The Exact Settings to Change

    Here’s the full breakdown tested and verified for 2026:

    SettingRecommended ValueWhy
    Render Scale85–90% + DLSS/FSR QualityThis is the single most important slider it controls internal resolution before upscaling
    Particle QualityMediumMedium still looks great Ultra tanks FPS during intense firefights exactly when you need frames most
    SSGI (Screen Space Global Illumination)OffTurning it off saves significant GPU headroom with minimal visible impact during actual gameplay
    Volumetric FogLow or OffOne of the biggest GPU costs with the least gameplay impact
    Texture QualityMatch your VRAMRunning textures above your VRAM limit causes stuttering as assets stream in and out
    Motion BlurOffUseless in fast combat, costs GPU cycles
    V-SyncOffDisabling V-Sync unlocks the full potential of your hardware use frame cap instead
    Shadow QualityMediumLess impact than particles but still worth dropping
    Depth of FieldOffZero gameplay value, real performance cost

    The Anti-Cheat Stutter Fix Nobody Talks About

    Helldivers 2 uses nProtect GameGuard, and it causes stutter that looks exactly like a GPU problem. The anti-cheat software performs periodic system scans that spike CPU usage players mistake this for a graphics bottleneck and waste time lowering visual settings that aren’t the actual cause.

    The fix: Add Helldivers 2 and GameGuard to your antivirus exclusion list. This alone eliminates the random mid-mission freeze spikes that no graphics setting change can fix.

    GPU Driver and Upscaling Tips

    Update your GPU driver Helldivers 2-specific optimisations are released regularly. NVIDIA and AMD release Helldivers 2-specific driver optimisations that can meaningfully improve stability and frame rates.

    If you have an RTX 40 series GPU, enable Frame Generation. If you have an NVIDIA RTX 40 series or newer, you can enable 2x frame gen at the driver level using the NVIDIA App it’s a great option with lower latency than third-party alternatives. On older cards, the Lossless Scaling app on Steam achieves similar results for a small cost.

    Part 2 Gameplay Optimization: Play Like a Pro

    Build Your Loadout With a Job System

    The biggest mistake players make is treating stratagems like a wishlist rather than a team role. Every Helldive loadout fills four stratagem slots assign each slot a job before picking specific items: Slot 1 for anti-heavy, Slot 2 for crowd control, Slot 3 for utility or support, Slot 4 for emergency response.

    A full squad has 16 stratagem slots total coordinate them. The most common mistake is everyone running the same three or four meta picks the squad ends up with eight copies of Eagle Airstrike, no dedicated anti-tank role, and no one covering crowd control.

    The Universal Starter Pack Works on All Factions

    If you don’t know where to start, use this. Eagle Airstrike + Orbital Precision Strike + Guard Dog Rover + Eagle 500KG Bomb covers Bug Hole and Fabricator clearance, heavy kills via OPS and 500KG, and passive chaff management via Rover it requires no team coordination and works at Difficulty 7–9 across every faction.

    Build from this foundation and swap out individual slots as you learn what each faction demands.

    Faction-Specific Loadout Logic

    Don’t bring the same build to every mission each faction punishes the wrong tools hard. Terminids are flesh and swarms fire and area control shine. Automatons are armour and range bring penetration and heavy hitters. Illuminate sit somewhere in between adaptability is key.

    Here’s the quick faction breakdown:

    FactionPrimary ThreatBest ToolsAvoid
    TerminidsSwarms + ChargersFire, area damage, Breaker shotgunSingle-target orbitals
    AutomatonsArmoured heaviesAutocannon, Railcannon, penetration weaponsFlamethrowers at range
    IlluminateShields + Voteless hordesAdaptable builds, arc weaponsSlow heavy weapons
    CyborgsShock troops + tanksHeavy stratagems, armour-stripping primariesLight area damage

    The Two Stratagems That Go In Almost Every Build

    These two form the backbone of the current meta regardless of faction or difficulty. The Eagle Airstrike is unlocked at Level 2 for 4,000 Requisition Slips it delivers six bombs in a straight line with Anti-Tank III armour penetration on direct hits, closes Bug Holes, and destroys Fabricators without walking up to them.

    The Orbital Precision Strike is the reliable heavy-kill option. Orbital strikes dominate for their reliability they land on a precise point regardless of terrain and handle armoured threats that primaries can’t crack. These two combined handle primary objectives in most missions across all factions.

    Save Your Big Stratagems Don’t Dump Early

    Orbital Lasers and cluster bombs are panic buttons, not openers. Large offensive stratagems are best saved for bottleneck zones or situations when your squad is pinned dumping them early without reason wastes their potential entirely.

    Use Eagles for consistent objective clearing. Save Orbitals for emergencies and elite threats. That discipline alone improves your Helldive completion rate significantly.

    Post-Patch 6.1.0 What Changed in March 2026

    Three things shifted the meta meaningfully this patch know them before you load in. The GL-21 Grenade Launcher lost its heavy armour penetration, flamethrowers now panic enemies on contact, and the Laser Cannon’s beam extended to 1,000m range transforming it from a close-range support option into a viable sniper-class stratagem on the bot front.

    Flamethrowers are now genuinely meta on Terminid missions. Bugs physically panic when set on fire Chargers break charge paths, Brood Commanders interrupt nearby formations, Hunters scatter. If your last flamethrower run was before March 2026, it’s a different weapon now.

    Mission Discipline The Habits That Separate Good Players

    Always destroy spawn structures immediately. Large red areas on the map indicate enemy base camps containing spawn structures Bug Holes for Terminids that continually generate enemies if left intact. Explosives are your best friend here. Leaving them active means fighting the same patrol ten times instead of once.

    Complete side objectives they’re not optional at high difficulty. Side objectives boost mission rewards and often provide powerful advantages activating SEAF artillery grants your team additional fire support for the rest of the mission. A team that clears side objectives consistently outperforms a team that doesn’t on every difficulty level.

    Don’t chase the meta blindly chase understanding. There is no single “best build.” Mission type matters: Defence missions want turrets and sustained fire, Search & Destroy missions want big explosives, Commando missions with limited call-ins make carryable persistent gear far more valuable.

    Know your mission type. Build for the faction. Coordinate your squad’s 16 slots. That’s the formula that clears Super Helldive not copying the current top loadout from Reddit.

  • Optimize GTA V Gameplay on a 4GB RAM PC

    Optimize GTA V Gameplay on a 4GB RAM PC

    So you’ve got a low-end PC and you want to run GTA V. Respect. You’re not alone millions of players are still grinding Los Santos on machines that would make a modern GPU cry. The good news? GTA V Legacy was literally built with you in mind. The bad news? It still needs some convincing.

    Let’s fix that, step by step.

    First, Know Which Version You’re Running

    Before touching a single setting, get this straight there are two versions of GTA V right now, and only one of them works on your machine.

    GTA V EnhancedGTA V Legacy
    Minimum RAM8GB4GB
    Minimum GPU VRAM4GB1GB
    Minimum CPUIntel i7-4770 / AMD FX-9590Intel Q6600 / AMD Phenom 9850
    Storage105GB SSD (required)125GB HDD
    Your 4GB PC❌ Not supported✅ Playable with tweaks

    If you’re on 4GB RAM, you’re on GTA V Legacy. Full stop. Don’t even attempt Enhanced — it’ll either crash immediately or make your PC sound like a jet engine trying to take off from your desk.

    What Your PC Is Actually Dealing With

    Let’s get honest about what’s happening under the hood. Here are three real-world situations for low-end machines:

    Situation A The Budget Laptop (Struggling)

    • CPU: Intel Core i3-6006U (2 cores, 2GHz)
    • RAM: 4GB DDR3
    • GPU: Intel HD Graphics 520 (integrated, shared VRAM)
    • Storage: 500GB HDD

    What happens in-game: GTA V loads, stutters badly in traffic, drops to 15–20 FPS in dense areas like downtown, and hits the RAM ceiling within 20 minutes. The city basically becomes a slideshow during police chases. The HDD also means 3–4 minute load times every session.

    Situation B The Old Desktop (Borderline Playable)

    • CPU: Intel Core i5-2400 (4 cores, 3.1GHz)
    • RAM: 4GB DDR3
    • GPU: NVIDIA GT 730 (2GB VRAM)
    • Storage: 500GB HDD

    What happens in-game: Stable 25–35 FPS on the right settings, with occasional stuttering during cutscenes and large open areas. This machine sits right on the edge of comfortable if you tune it properly. This guide is built for you.

    Situation C The Slightly Better Low-End (Optimizable)

    • CPU: AMD Ryzen 3 3200G with Radeon Vega 8 (integrated)
    • RAM: 4GB DDR4
    • GPU: Integrated Radeon Vega 8 (shares system RAM)
    • Storage: 256GB SSD

    What happens in-game: Better than it looks on paper, but the integrated GPU eating into your already-tight 4GB RAM is the real enemy here. Framerates hover around 20–30 FPS. The SSD saves you on load times at least.

    Step 1 Free Up RAM Before You Even Launch the Game

    This is the most impactful thing you can do and it costs nothing.

    Close everything that’s eating memory:

    • Discord (uses 200–400MB on its own)
    • Chrome or any browser
    • Background apps like Spotify, OneDrive, Steam overlay if possible
    • Windows Search indexing (can be paused temporarily)

    How to check what’s running:

    1. Press Ctrl + Shift + Esc to open Task Manager
    2. Click the Memory column to sort by usage
    3. Kill anything above 50MB that you don’t need

    Target: get your idle RAM usage below 1.5GB before launching GTA V. That gives the game at least 2.5GB to breathe.

    Step 2 Set Your Graphics Settings (The Exact Numbers)

    Open GTA V, go to Settings → Graphics. Here’s exactly what to set:

    Graphics Settings Table for 4GB RAM

    SettingRecommended ValueWhy
    DirectX VersionDirectX 10.1 or 11DX10.1 uses less VRAM
    Screen Resolution1280×720 (720p)Big FPS gain over 1080p
    Aspect RatioAutoLeave it
    Refresh RateMatch your monitorLeave it
    Texture QualityNormalHigh eats VRAM fast
    Shader QualityNormalDrop to Low if needed
    Shadow QualityNormal → LowShadows are RAM killers
    Reflection QualityLowMinimal visual loss
    Reflection MSAAOffTurn this off completely
    Water QualityHighCheap to render, looks good
    Particles QualityHighLow GPU cost
    Grass QualityLow or OffSurprisingly expensive
    Soft ShadowsSofter or PCSS offPCSS tanks performance
    Post FXNormalDrop to Low if stuttering
    Motion BlurOffUseless on low FPS anyway
    Depth of FieldOffFrees up GPU
    Anisotropic FilteringX4Balance of quality/cost
    Ambient OcclusionOffBig performance cost
    TessellationOffNot worth it here
    Long ShadowsOffOff completely
    High Resolution ShadowsOffOff completely
    High Detail StreamingOffCritical — turn this off
    Extended Distance ScalingFar left (minimum)Fewer objects loaded
    Extended Shadows DistanceFar left (minimum)Less shadow rendering

    VRAM Usage bar: Keep an eye on the VRAM bar at the bottom of the graphics screen. Keep it in the yellow, never red. If it hits red, your GPU starts pulling from system RAM and everything stutters.

    Step 3 In-Game Additional Settings

    Go to Settings → Advanced Graphics:

    • Frame Scaling Mode: Off
    • Long Shadows: Off
    • High Resolution Shadows: Off
    • High Detail Streaming While Flying: Off ← this one matters a lot

    Go to Settings → Display:

    • Pause Game on Focus Loss: On (stops the game running in background)
    • VSync: Off (frees up frames, add frame limiter instead)

    Step 4 Add a Frame Rate Cap

    No VSync, but uncapped FPS causes stutter too. Use RTSS (RivaTuner Statistics Server) free download and cap your FPS to 30.

    Sounds low. But a locked, smooth 30 FPS feels dramatically better than a game swinging between 45 and 12 FPS every few seconds. Consistency beats peaks on low-end hardware every time.

    Step 5 Fix Windows for Gaming

    This is the stuff nobody talks about but makes a real difference.

    Set GTA V to High Priority:

    1. Launch the game
    2. Alt+Tab to Task Manager
    3. Find GTA5.exe → Right-click → Set Priority → High

    Enable Game Mode:

    1. Press Windows + I → Gaming → Game Mode → On
    2. This stops Windows Update and background processes from interrupting gameplay

    Disable Xbox Game Bar:
    Settings → Gaming → Xbox Game Bar → Off. It uses RAM and you don’t need it.

    Set Power Plan to High Performance:
    Control Panel → Power Options → High Performance. Your laptop will run warmer, but your CPU won’t throttle mid-chase.

    Step 6 — Use the Right Launch Options

    Right-click GTA V in your Rockstar Games Launcher or Steam → Properties → Launch Options. Add this:

    -memrestrict 3221225472 -norestrictions -noBlockOnLostFocus

    What this does:

    • -memrestrict tells the game to limit itself to roughly 3GB RAM usage (leaving your OS room to breathe)
    • -norestrictions disables Rockstar’s internal memory restrictions that can cause odd stutters
    • -noBlockOnLostFocus prevents the game from pausing randomly when you alt-tab

    The Quick-Answer Section

    Best graphics settings for a very low-end laptop?

    Drop to 720p immediately. Turn Shadows to Low, Grass to Off, Ambient Occlusion Off, all Distance Scaling sliders to minimum. Keep Texture Quality at Normal going below Normal actually hurts because the game streams textures constantly anyway. You’re aiming to stay below 1.5GB VRAM usage at all times.

    Low RAM stuttering — what can I do?

    Stuttering on 4GB RAM is almost always a memory paging issue the game is spilling over into your page file (virtual memory on your HDD/SSD), and that causes the hard freezes you feel every 30–90 seconds. Fix it:

    1. Close background apps (get below 1.5GB idle RAM)
    2. Increase your Page File: System → Advanced → Performance Settings → Virtual Memory → set minimum 4096MB, maximum 8192MB
    3. Turn High Detail Streaming While Flying off — this is the biggest single cause of sudden RAM spikes
    4. Turn Extended Distance Scaling to minimum

    Some optimisation recommendations for GTA V on a low-end PC?

    Here’s the priority order, from highest to lowest impact:

    1. Drop to 720p resolution
    2. Turn off High Detail Streaming While Flying
    3. Set Shadows to Low
    4. Turn Grass Quality to Low/Off
    5. Turn off Ambient Occlusion
    6. Close all background apps before launching
    7. Cap framerate to 30 FPS with RTSS
    8. Set Power Plan to High Performance
    9. Increase Page File size
    10. Set game process priority to High

    One Last Thing

    You’re not going to get 60 FPS on a 4GB RAM machine in GTA V. Anyone telling you otherwise is selling something. What you can get is a stable, playable 25–35 FPS that doesn’t stutter every block, doesn’t crash in the middle of a mission, and actually lets you enjoy the game.

    That’s the goal. And with the steps above, it’s genuinely achievable.

    Good luck out there, and watch the VRAM bar.